










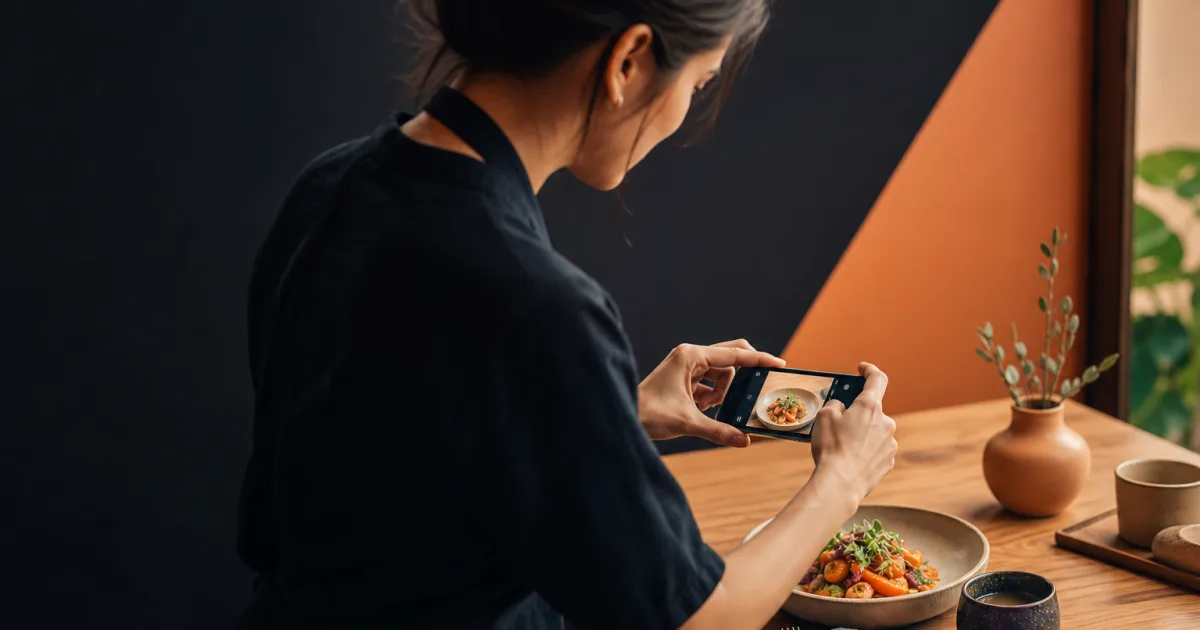
Dish photography can make a digital menu easier to browse, but only when it helps a guest make a decision. For an independent café or restaurant, the goal is not to photograph every plate or create a polished campaign. It is to show selected dishes clearly, set realistic expectations, and keep the menu accurate as your offering changes.
That makes digital menu photography a practical operational task as well as a design choice. A useful image can help a guest recognise a dish, compare options, or feel more confident about ordering. An unhelpful one can make the menu slower to scan, distract from essential details, or show something that is no longer available.
This guide shares digital menu photography tips for restaurants that are manageable for small teams. Focus on clarity, consistency, and regular review so photos support the written menu rather than competing with it.
Start with the decision a photo should support
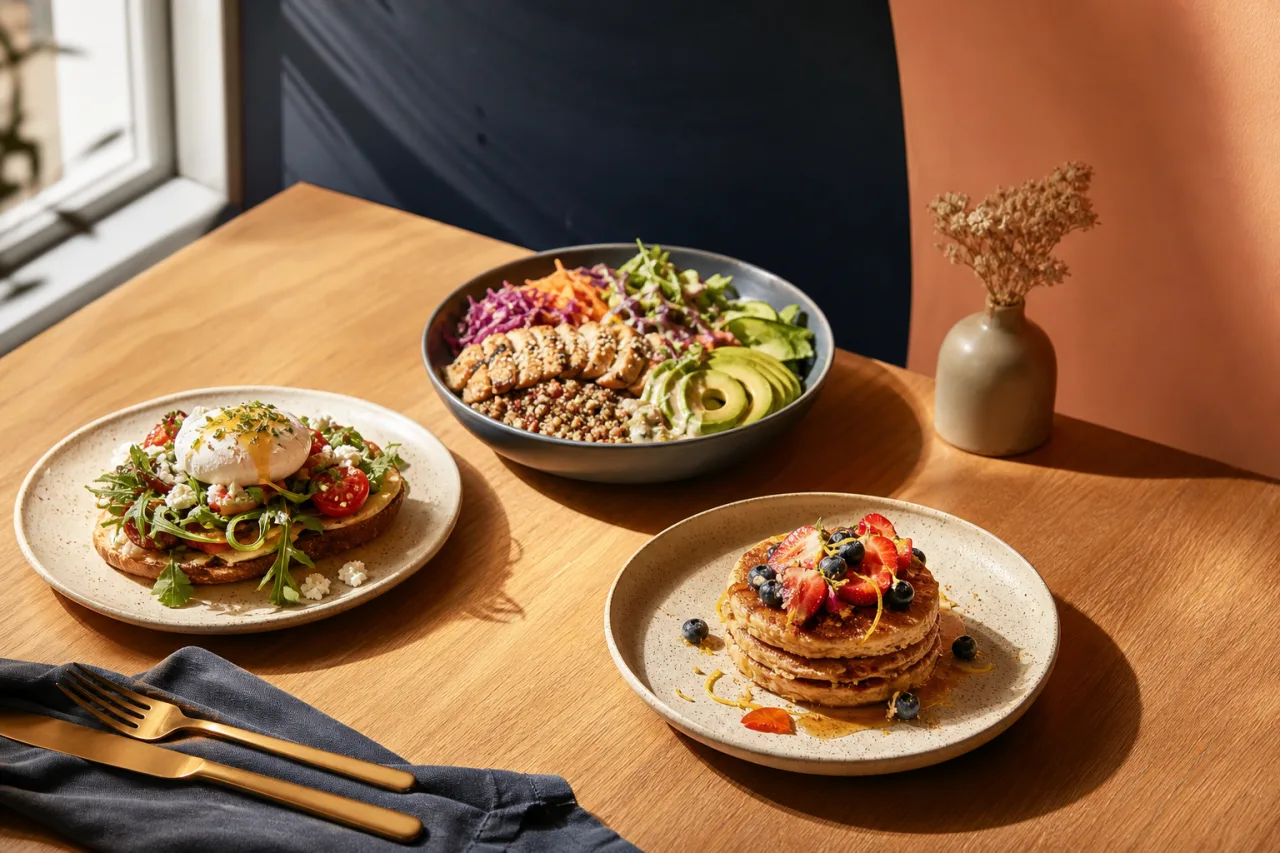
Before taking a photo, ask what uncertainty it removes for the customer. Some dishes benefit more from an image than others. A recognisable breakfast plate may need only a clear name and description, while an unfamiliar house special, a layered dessert, or a dish with several components may be easier to understand when guests can see it.
Photos are especially useful when they help answer simple questions:
- What does this dish generally look like?
- How is it presented?
- What is the main ingredient or defining element?
- How does one option differ visually from another?
Use photos selectively. A menu crowded with images can make it difficult to find names, prices, dietary information, or categories quickly. On a phone screen, every image also takes up space. A smaller group of well-chosen restaurant menu photos often provides more value than an image beside every item.
A menu photo should clarify the choice, not ask the customer to work harder to find the choice.
Begin with dishes that are popular, distinctive, visually informative, and reliably available. Then review whether the image genuinely helps. If it does not add useful context, a strong dish name and concise description may be the better option.
Photograph the dish customers will receive
The most important rule is simple: the photo should be recognisable when the dish reaches the table. Photograph the current version of the item, using the usual plating, serving vessel, garnish, and portion presentation where possible. This does not require elaborate styling. It requires attention to what your kitchen normally serves.
A photograph can become misleading when it includes a side, topping, drink, or garnish that is not part of the listed item. It can also create confusion if it shows an old recipe, a previous plate, or a seasonal presentation after the menu has changed. Keep the written listing and image connected.
Before publishing, compare the photo with the menu entry line by line. Check that the dish name is correct, the visible components are represented appropriately in the description, and the price applies to the item shown. If you offer variations, make sure the picture does not imply that every variation looks identical.
Choose current dishes over a large image library
For small businesses, a compact set of up-to-date images is easier to maintain than a large archive. You do not need to photograph the full menu in a single session. Start with priority items and add photographs as you can keep them current.
When a dish changes, decide whether the existing photo still represents it. If not, remove or replace the image before it causes uncertainty. This is particularly important for specials, changing garnishes, revised recipes, and items that move in and out of availability.
A digital menu is useful here because it can be reviewed and updated without reprinting a physical menu. With QR Menu for cafés and restaurants, you can publish a menu behind a QR code and change dishes, prices, and availability as needed. That flexibility is most valuable when your photographs are treated as part of the menu information, not as a separate, forgotten gallery.
Use consistent framing and lighting
Consistency helps guests scan a cafe digital menu without having to reinterpret each image. You do not need every photograph to be identical, but they should feel like they belong together. Choose a repeatable approach for angle, crop, background, and light.
For example, you might photograph most plated dishes from a slightly elevated angle, use the same table surface or neutral background, and keep the dish as the clear focal point. Drinks might work better from a lower angle, but they should still follow the same general visual tone. This creates a calmer menu experience than a mix of dark, bright, tightly cropped, and distant images.
Make the food easy to see
Clear light is more useful than dramatic light. Position the dish where its main features can be seen, avoid deep shadows that hide ingredients, and check whether the plate is in focus. Natural-looking, even light can help the customer understand colour, texture, and components without making the image feel overworked.
Keep backgrounds simple. Busy tabletops, unrelated items, hands, packaging, or kitchen equipment may pull attention away from the dish. If a napkin, glass, or cutlery is included, it should support the composition rather than make the item difficult to identify.
Frame with the phone screen in mind. A wide photograph that relies on tiny details may lose its purpose on a small display. Crop close enough that the meal is easy to recognise, while leaving enough of the plate or glass to provide context. Avoid a crop that makes it unclear whether the customer is seeing a full serving, a side, or a detail.
Keep written information in charge
A photo is supporting information. The dish name, description, price, and availability still do the essential work of the menu. Do not rely on a photograph to communicate details that should be written clearly, such as ingredients, options, or whether an item is available.
Place the image near the relevant item and make sure it cannot be confused with the item above or below it. If several dishes share a photo, say so clearly in the surrounding menu content rather than assuming customers will infer the connection.
Review price and availability whenever you review photography. A good image cannot compensate for an outdated price or a dish that cannot currently be ordered. If an item is unavailable, its photo should not encourage guests to choose it as though it were ready to order.
Using a digital menu gives your team a practical place to make those checks. The mobile-friendly QR Menu is designed to let restaurants and cafés update dishes, prices, and availability without reprinting menus. Build a habit of checking the associated image at the same time as every item update.
Review the menu on a phone before publishing
A menu may look clear on a larger screen but feel crowded or unclear on a phone. Since guests commonly access a QR-linked menu on their own device, the final review should happen there too. Open the menu as a customer would and move through each category at a normal pace.
Look for practical issues:
- Is the dish visible without excessive scrolling?
- Can you immediately tell which name and price belong to the image?
- Are photos helping categories feel easier to browse, or making them longer and denser?
- Do images load into a readable sequence with the surrounding text?
- Does each photographed item appear available and correctly priced?
Ask someone who did not create the menu to complete a few simple tasks, such as finding a particular dessert or comparing two breakfast options. Their experience can show whether a picture creates clarity or merely adds visual weight.
Create a simple review routine
Photography stays useful when it is part of a repeatable process. Schedule a quick review whenever you change the menu, introduce a special, update a price, or know that plating has changed. You can also set a regular check for the full menu, so older photos do not quietly remain after the dish has evolved.
- Open the menu on a phone.
- Check each photographed item against the current dish and written listing.
- Confirm its price and availability.
- Remove, replace, or retain the image based on whether it still helps a guest choose.
- Publish only after the menu feels accurate and easy to scan.
This routine does not need to be time-consuming. It is a focused check that protects the usefulness of the whole menu. A clear process is more sustainable than trying to maintain perfect imagery for every item.
Conclusion: make photos useful, current, and easy to scan
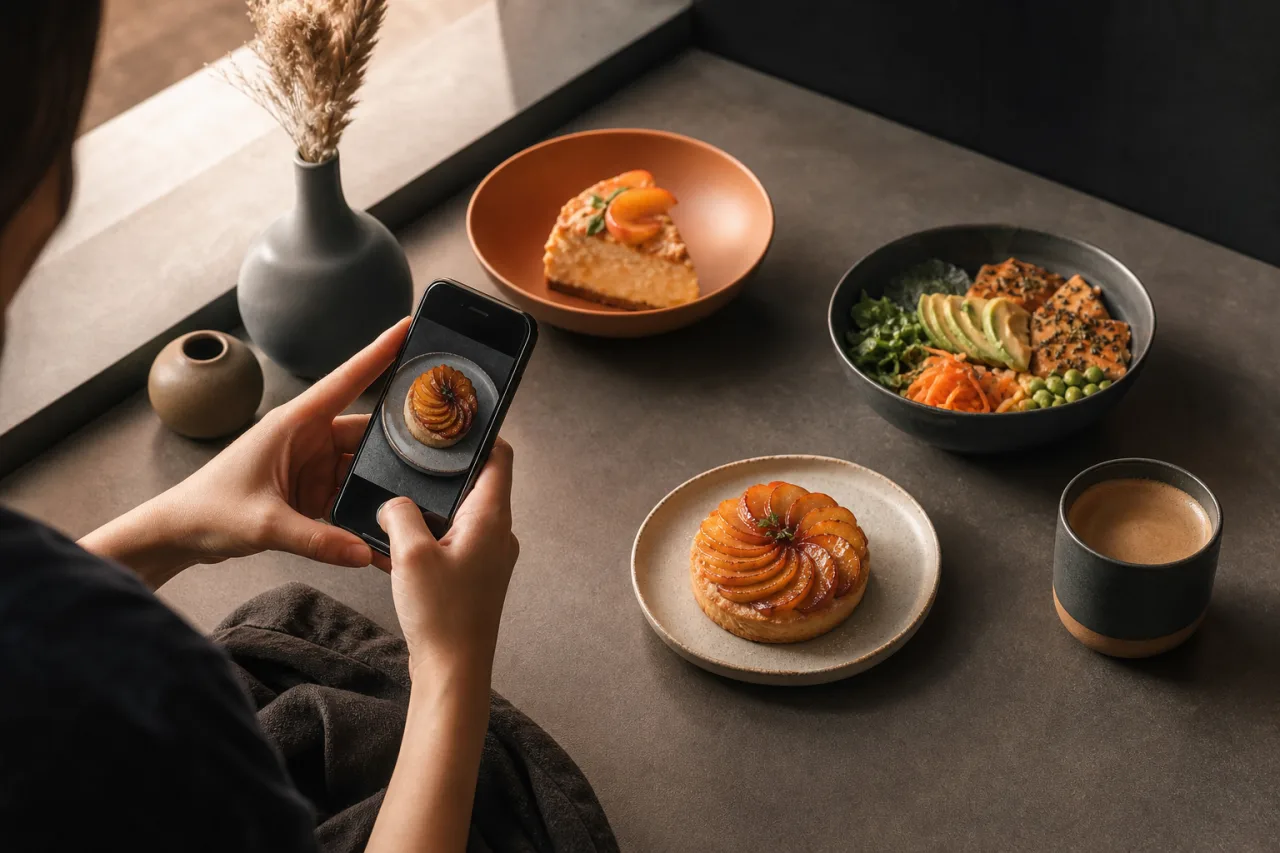
Good digital menu photography is less about producing more images and more about choosing the right ones. Show dishes that benefit from visual context, use a consistent approach to framing and lighting, keep every image aligned with the current item, and review the result on a phone.
Use a mobile-first process that makes current dish information easy to review. Explore QR Menu to publish a clear digital menu behind a QR code and update dishes, prices, and availability without reprinting menus.