








Prepare the public identity and regional rules before publishing the first menu.
Before you start
- Decide the public business name and stable address.
- Confirm the country, timezone, currency and primary language.
Complete the four initial steps
Set the public business name and address, create the first menu, add a category and product, and publish the result. The assistant also creates a stable QR code.
Check regional settings
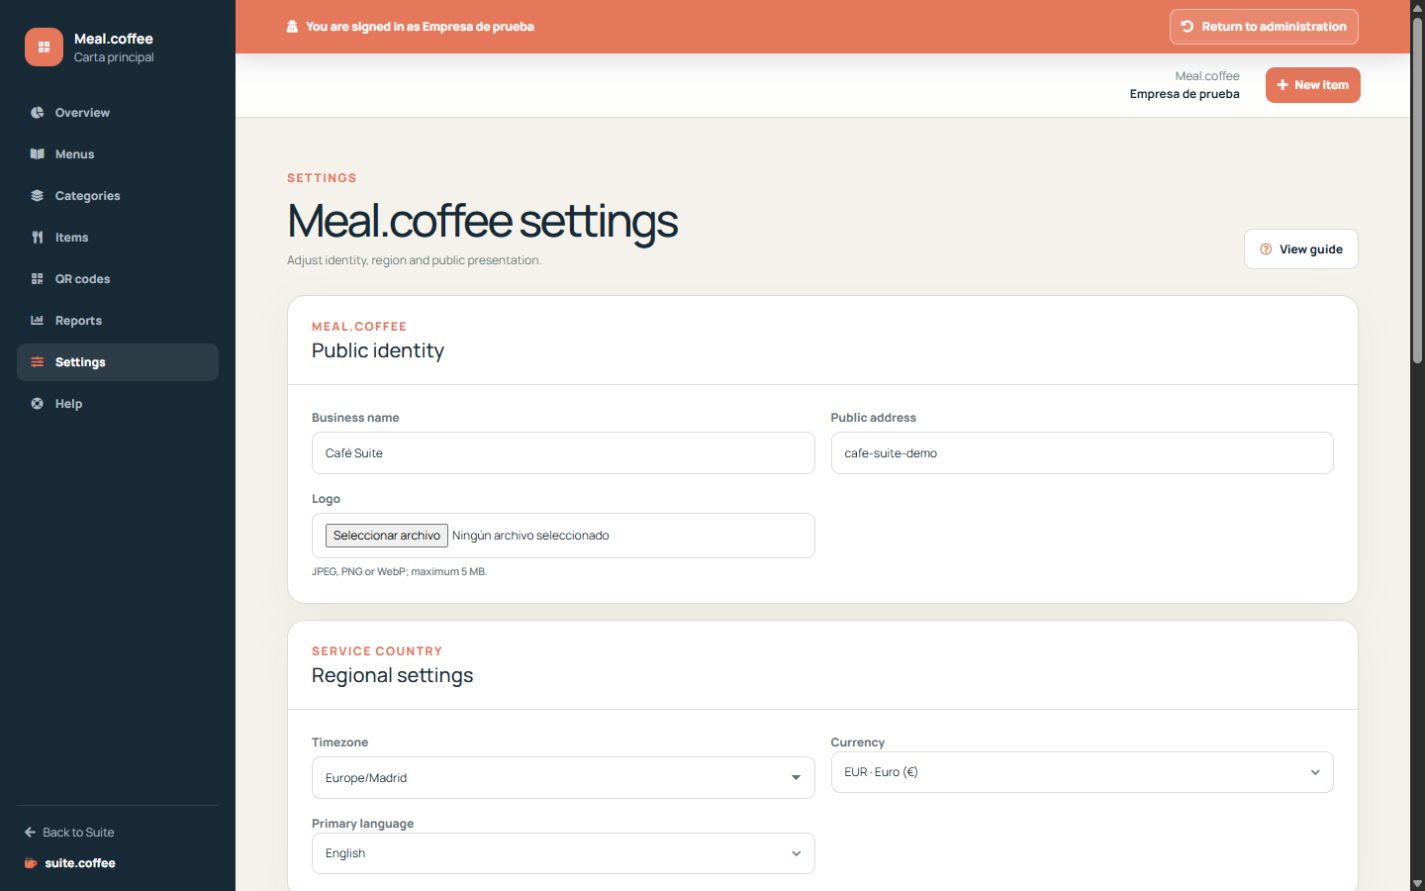
Review timezone, currency and primary language before adding the catalogue. Choose whether displayed prices include tax and whether allergen information is shown publicly.
Understand the service scope
Meal publishes digital menus. It does not receive orders, collect payments or issue invoices. Products may be shared with Invoice through an authorised Suite connection, but Meal itself creates no financial operation or fiscal document.
Step by step
- Open Settings from the Meal sidebar.
- Review the business name and public address.
- Choose timezone, currency and primary language.
- Decide whether public prices include tax and whether allergens are shown.
- Save and open the public menu from the overview.
Final check
- The public address opens the intended business.
- Prices and dates use the expected region.
- Tax and allergen notices match the configured policy.
Tip: Set the currency before loading the catalogue; changing it later does not convert existing prices.