










Use separate menus for real service periods, seasons or points of sale.
Before you start
- Complete Meal settings.
- Plan which categories and items belong to this menu.
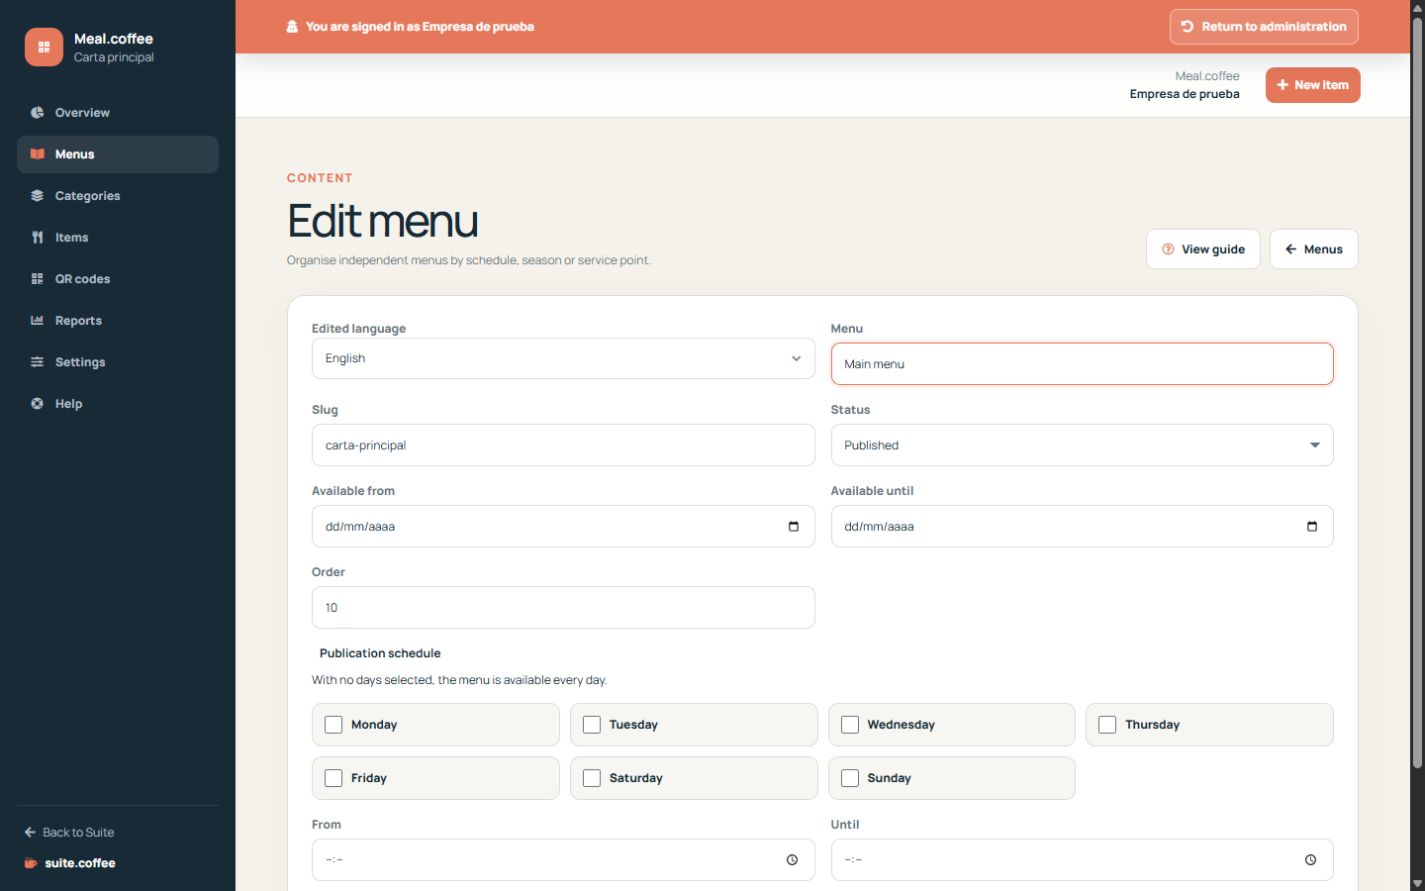
Create an independent menu
Use a menu for a service period, season or point of sale. Give it a clear name and unique slug, then assign categories and products from their own sections.
Define availability
An optional date range limits the season. Selected weekdays and start/end times define the recurring publication schedule in the Meal timezone; with no weekdays selected, the menu is available every day inside its date range.
Publish deliberately
A draft or hidden menu is not public. Publish only when its content and translations are ready. The public address and QR return no menu outside the configured availability window.
Step by step
- Open Menus and create or edit a menu.
- Choose the edited language, name and unique slug.
- Set draft, published, hidden or archived status.
- Add optional season dates and weekly service times.
- Save, add categories and items, then publish deliberately.
Final check
- The slug is unique and meaningful.
- The menu appears only on the intended dates and times.
- All required content is ready before publication.
Tip: Use draft while preparing content; hiding a menu is safer than changing its public address.