










Create stable entry points for each physical location without tying the print to changing content.
Before you start
- Publish the destination menu.
- Choose a useful internal label and initial visitor language.
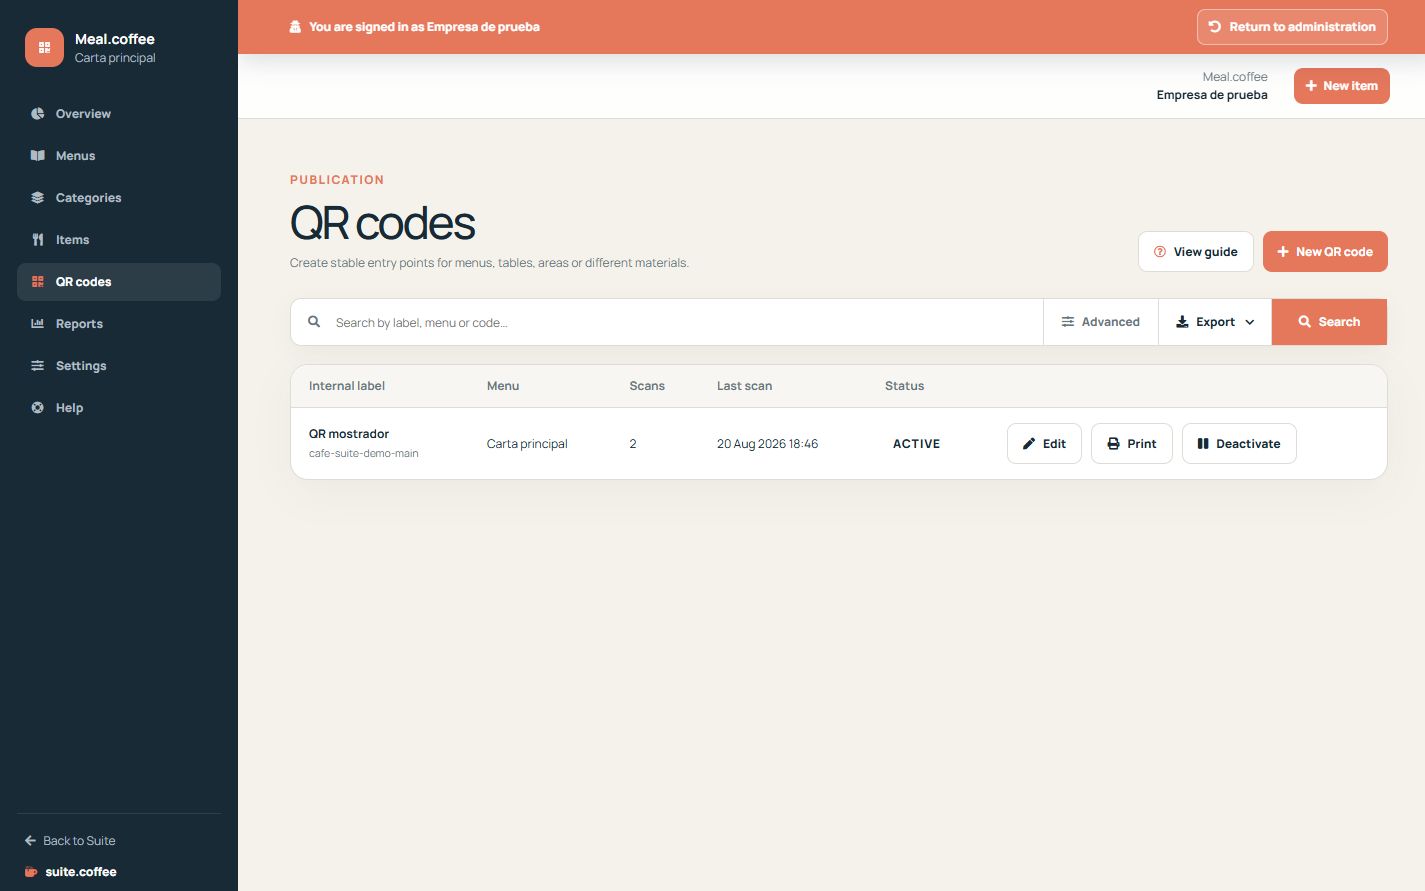
Create an access point
Assign the QR to one menu, give it an internal label such as Counter or Terrace and choose the visitor’s initial language. The generated public code remains stable.
Update without reprinting
The QR redirects to the current menu address, so changes to products, prices or branding do not require a new print. A scan works only while the QR is active and its menu is published and available.
Print the correct version
Open the print view to download the PNG or print the clean poster. Deactivate a code that should no longer be used; plan-suspended codes retain their configuration but cannot be reactivated until capacity returns.
Step by step
- Open QR codes and create a code.
- Choose its menu, internal label and initial language.
- Save and open Print.
- Download the PNG or print the clean poster.
- Scan the physical copy and verify its destination before placing it.
Final check
- The code opens the correct menu and language.
- It is active and the menu is currently available.
- The printed copy scans at its intended size and distance.
Tip: Update menu content without reprinting; deactivate only the codes that should stop working.